
Learn why shed floors sag & doors stick after winters. Ensure a solid foundation with Redi Bilt. Contact us for expert solutions!

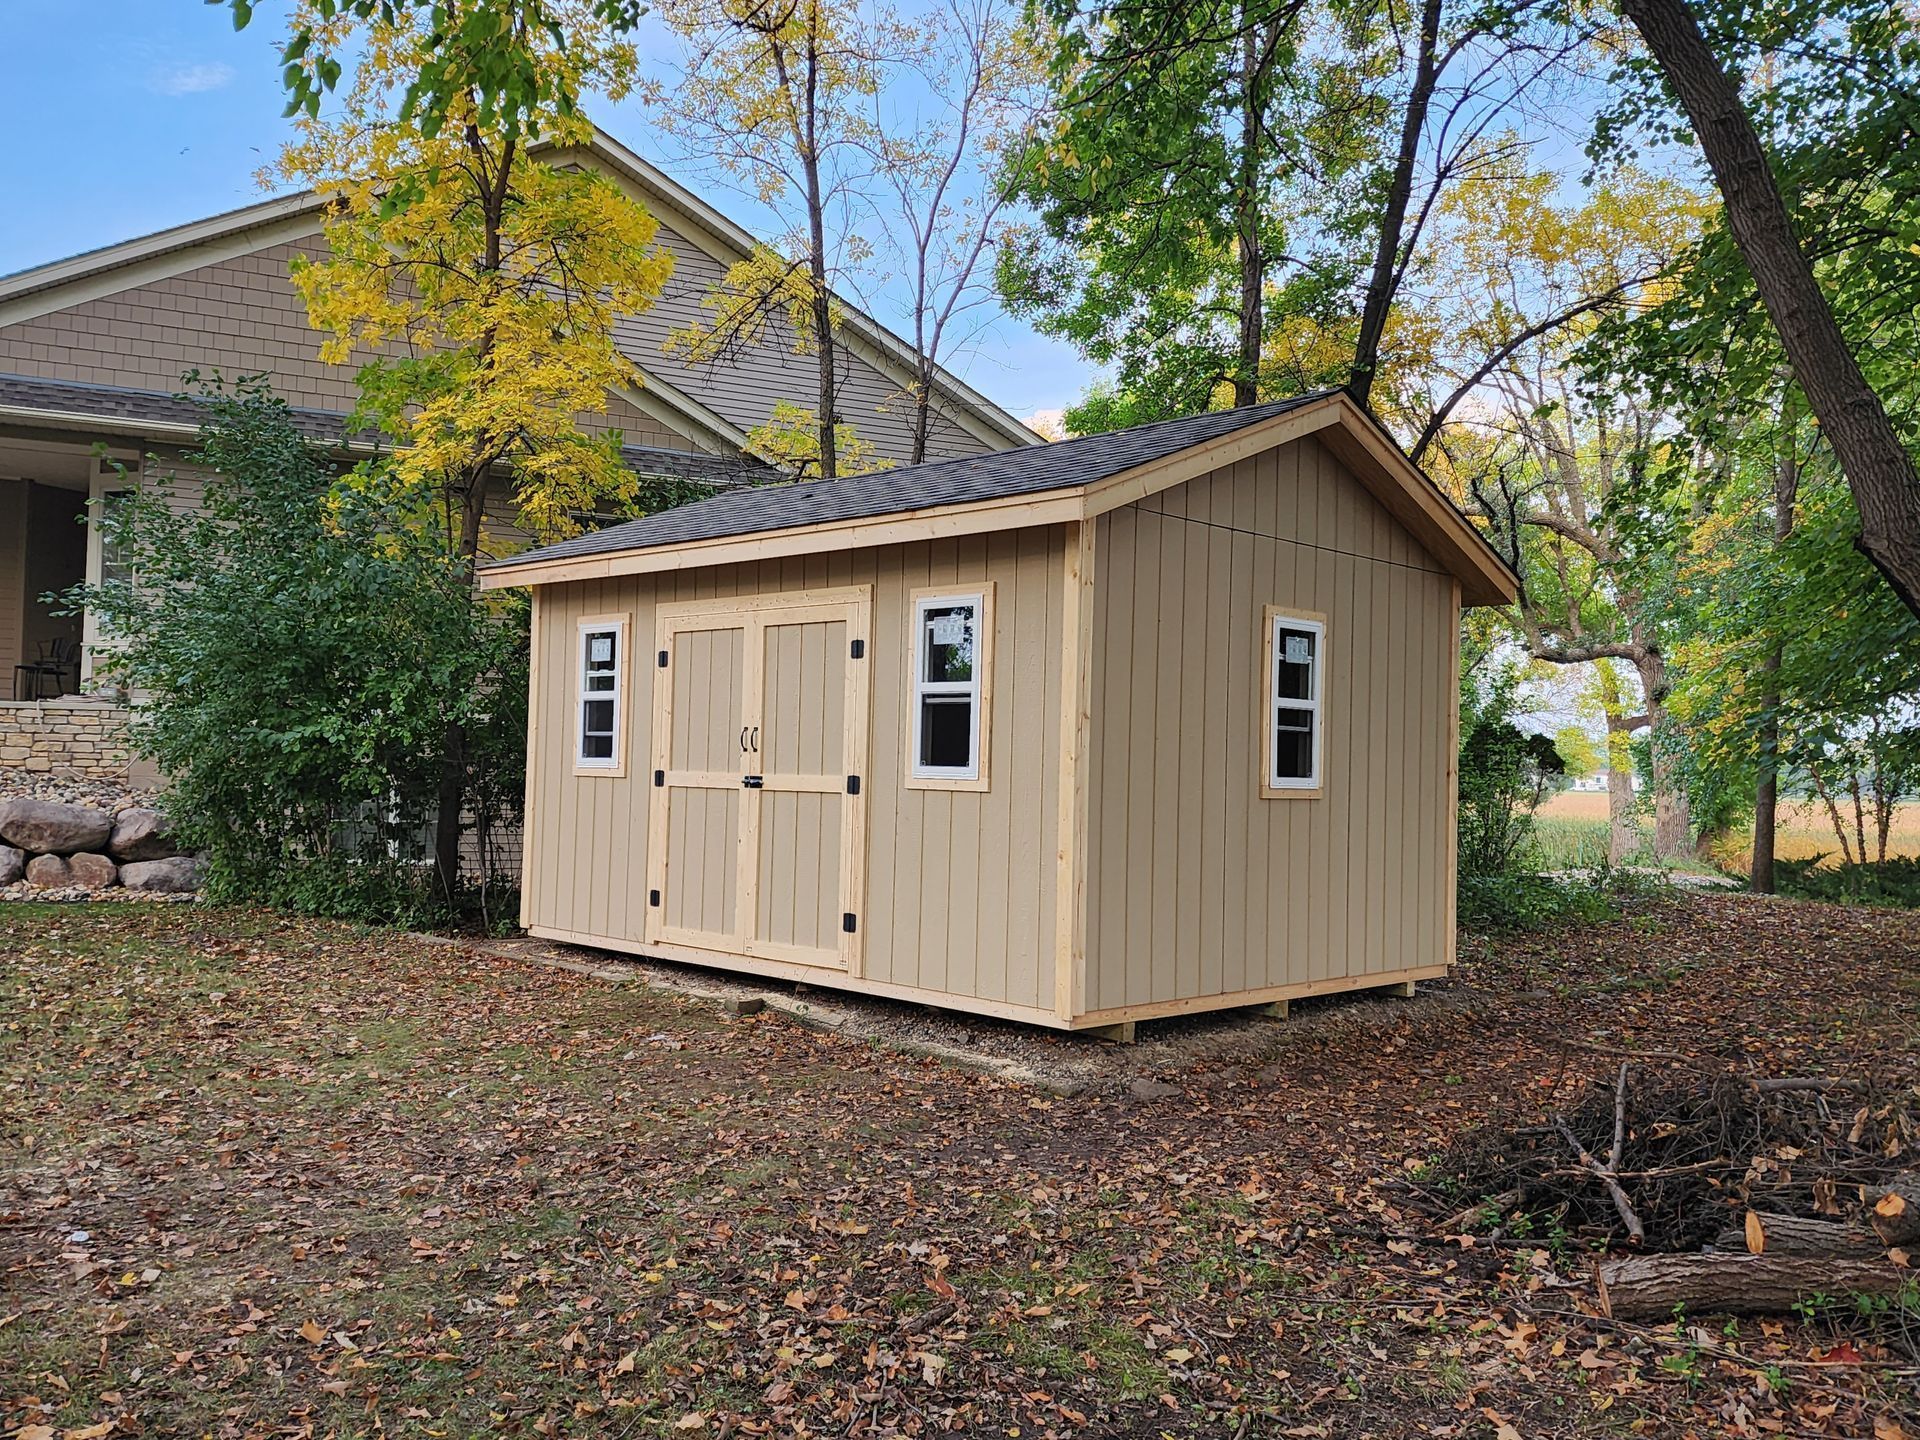
A shed is only as solid as what sits beneath it. Most people spend time choosing the right size, style, or roof pitch, but the foundation decision often gets pushed to the last minute.
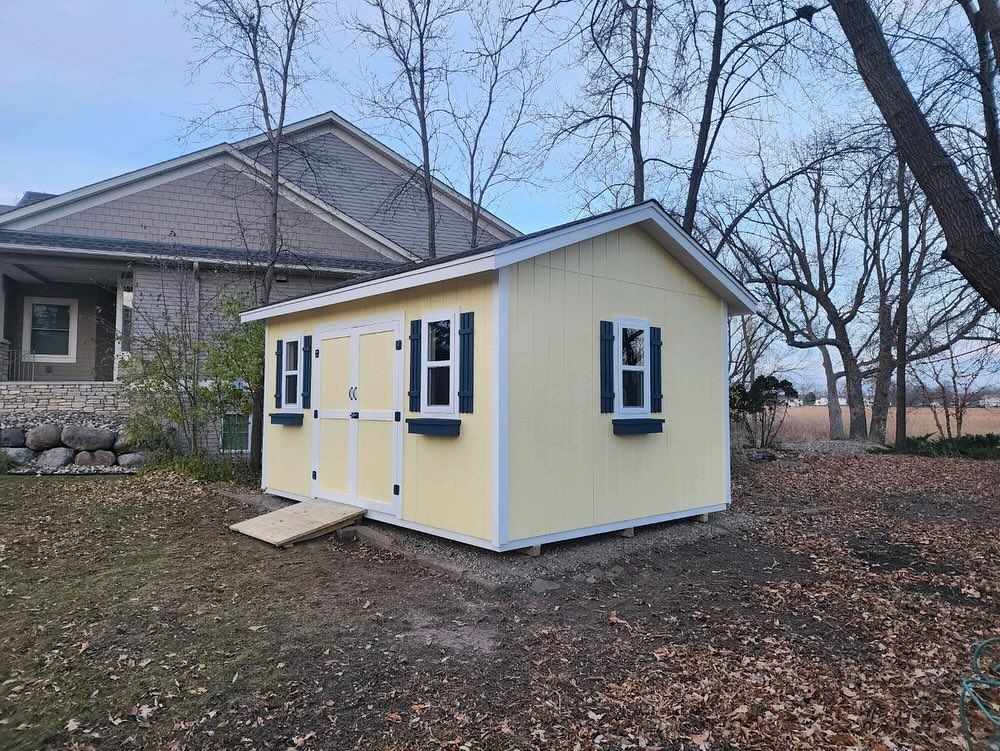
Backyard storage solutions have become increasingly important as homeowners look for practical ways to organize tools, seasonal equipment, outdoor furniture, gardening supplies, and recreational items without overcrowding garages or interior living spaces.
Learn why shed floors sag & doors stick after winters. Ensure a solid foundation with Redi Bilt. Contact us for expert solutions!
A shed is only as solid as what sits beneath it. Most people spend time choosing the right size, style, or roof pitch, but the foundation decision often gets pushed to the last minute.
Backyard storage solutions have become increasingly important as homeowners look for practical ways to organize tools, seasonal equipment, outdoor furniture, gardening supplies, and recreational items without overcrowding garages or interior living spaces.